by Amanda

Many native varieties, like Prairie Coneflower, require cold stratification if seeding in spring. The good news is this is an easy process for any gardener.
Many wildflowers—especially native varieties—have clever mechanisms in place that help protect them from germinating too early in the spring or too late in the summer. These varieties re-seed naturally in the wild and stay dormant until the proper time for them to start sprouting. More and more gardeners are seeing the benefits of growing native varieties in their landscapes and with a simple technique called cold stratification, you can easily add these wildflowers to your garden in the spring.
Cold Stratify Seeds: Why Not Just Sow The Seed?
Many annual varieties, like Zinnias, and Sunflowers, have soft shells and can simply be sprinkled on bare soil in the spring. But some perennials, especially native wildflowers, have a hard coating that helps protect the outer shell from breaking and sprouting too early. We’ve all experienced an unseasonably-warm spell in in the middle of January or February — this mechanism helps prevent the seeds from being tricked into coming out of dormancy until it’s just the right time.
The good news for gardeners is that the natural cold stratification needed for germination can be forced with just a few materials, water, a refrigerator, and patience.
If you’re planting native wildflowers or varieties that require cold stratification in the fall, this step isn’t necessary. Nature will do what it does best during the winter months and cold stratify the seeds for you.

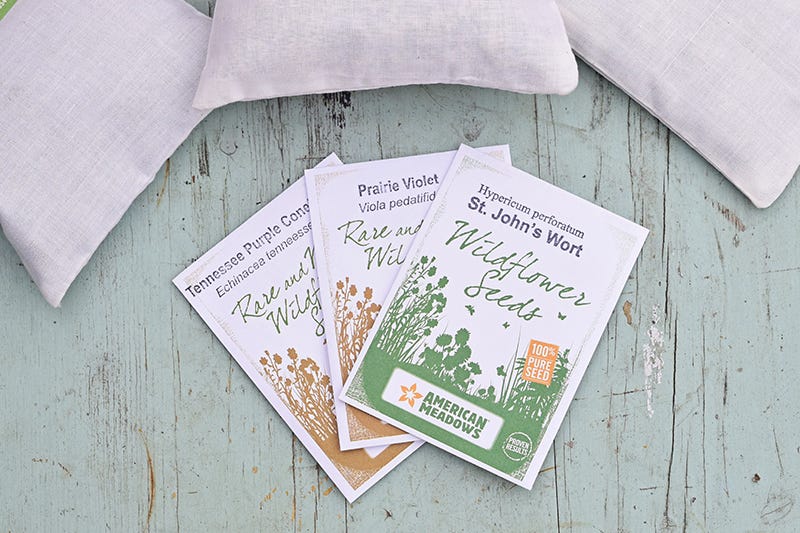
There are quite a few native varieties that should be cold stratified before planted in spring. We chose Prairie Violet Seeds, St. John's Wort, and Tennessee Purple Coneflower as some of our varieties to plant.
Cold Stratify Seeds: Varieties
There are several perennial and native seed varieties need to be manually broken from dormancy in order to sprout and thrive in your garden. If you’re planting native seeds and aren’t sure, chances are you should at least scarify and soak your seeds before planting.
Learn how to scarify and soak seeds for spring planting.
Common varieties that require cold stratification for spring planting:
Although this is a comprehensive list of the most common varieties, there are other seeds that do require cold stratification before spring planting. It’s best to call us at (877) 309-7333 if you aren’t sure.

Most of the materials you need to cold stratify seeds can be found in your home or tool shed.
Cold Stratify Seeds: Gather Materials
Cold stratification is an extremely easy process and once you’ve done it once, you’ll no doubt get the hang of it. The first step is to gather the materials needed, all of which can be found in your home, tool shed, or with a quick trip to the hardware store.
Materials for Cold Stratification:
- Seeds
- An all purpose sand mixture and/or Peat Moss
- Paper Towels
- Water
- Plastic ziploc bags
- A Sharpie or pen for labeling
- Mixing bowls
- Refrigerator
Cold Stratify Seeds: Step by Step Process
Now that you have your materials, you can use three different methods for cold stratifying your seeds. All three of these methods work equally well and offer up different ways to basically keep the seeds moist in your refrigerator until it’s time to plant. We’ll go over all three methods:
Sand/Water
- Place a 1/4 cup of sand (or more) in a mixing bowl. Slowly add water until you can form a ball with the sand/water mixture.
- Add your desired seed amount to the sand. Mix thoroughly.
- Place sand/seed mixture in a ziploc bag and seal.
- Label the variety and date clearly on the bag.
- Place in the refrigerator for 1 month before planting. If seedlings start to sprout in the bag in the refrigerator, remove immediately and either plant in the ground or in pots until it’s time to plant outdoors.


